|
Installing your graphics is an easy process. You
should set aside from 1 to 3 hours depending on if you are just
installing numbers or doing a whole Kart.
|
-
Materials Needed
-
Small cutting knife or razor blade. (An
Exacto Knife is ideal for the job)
-
Stick Pin
-
A Spray bottle filled with a mixture of
dish soap and water.
-
Plastic Squeegee (supplied)
-
Soft Lint Free Towel
-
2" Roll of Masking Tape
-
Temperature Requirements
-
Graphic Construction
|
|
|
Surface Preparation:
-
The surface needs to be clean of dirt, wax,
and oil. If you are installing on a new body, please clean the
surface with isopropyl, denatured alcohol, or a commercial product
designed to remove wax from automotive finishes. The molding
release compound that is used on bodies will keep your graphic
from sticking to the surface.
-
Be sure to test your cleaner on a inconspicuous
surface encase it attacks the surface.
|
| Graphic Installation: |
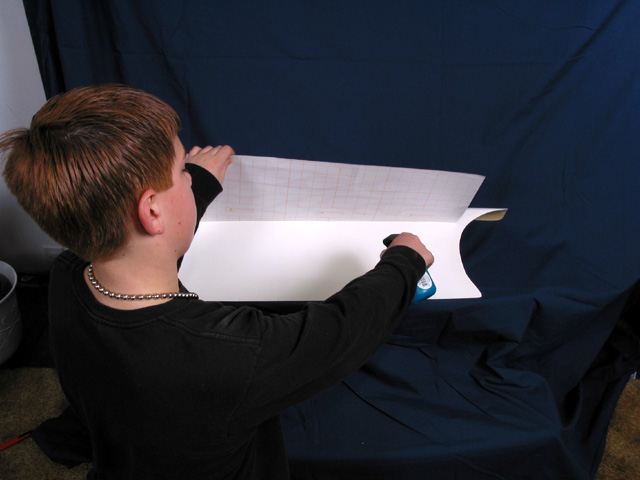
| Positioning:
|
| Hinge
|
- Wet the surface
- Lift the graphic up and sparingly spray the surface of your
Kart with the soap and water from your fine mist bottle, There
should be no foamy bubbles on the Kart surface. We just want
the surface slightly damp. Less is better than more here.
Do not leave water standing on the surface. If you spray too
much water on the surface wipe it off with a dry lint free
rag.
-
|
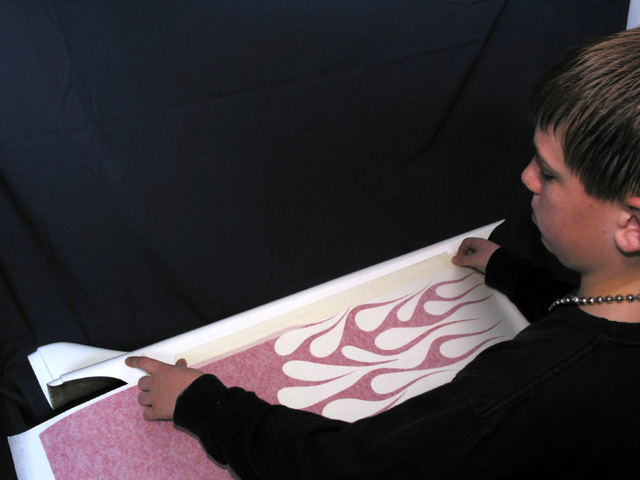
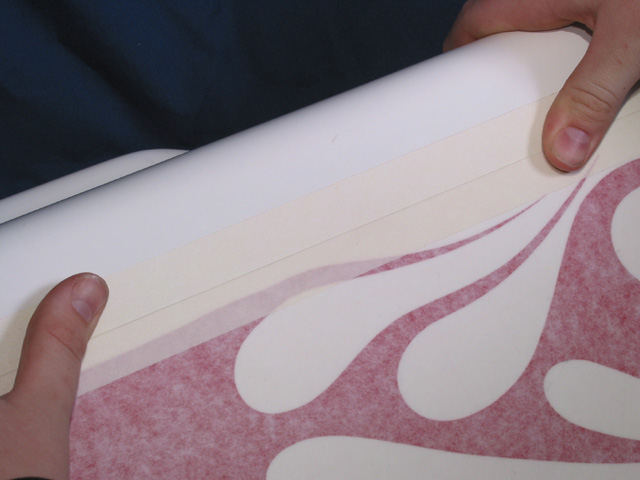
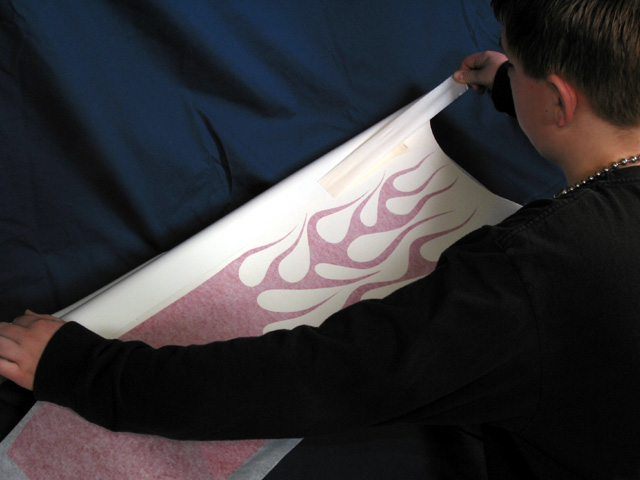
-
Hold the bottom edge of the graphic out at
a 90 degree angle, or flip it all the way up.
-
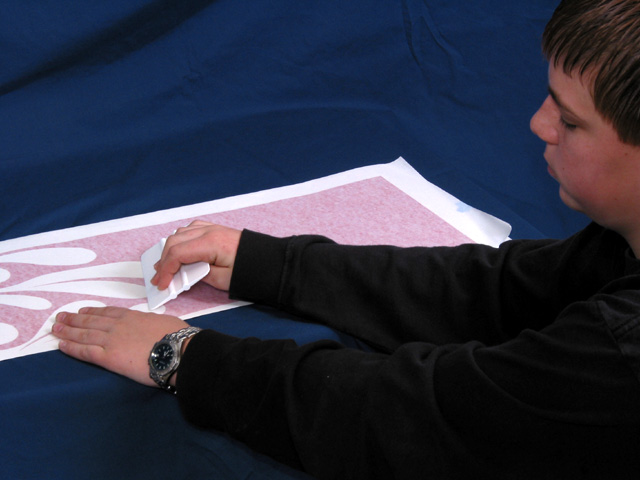
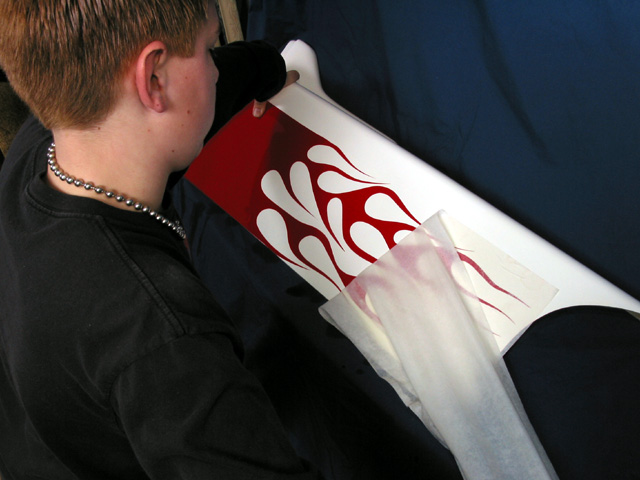
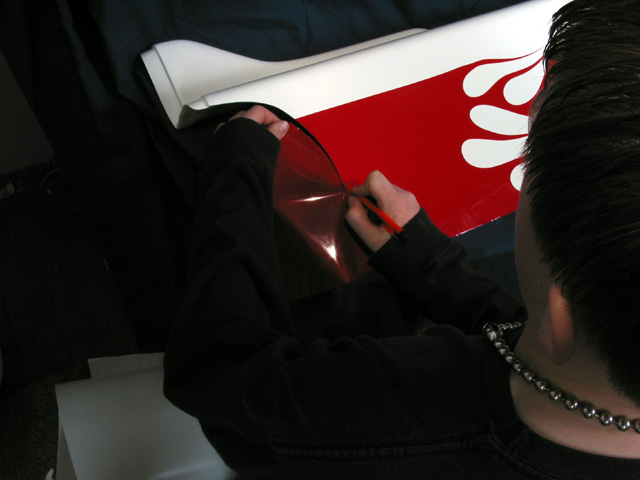
Remove the waxed paper backing slowly. It
is best to pull the backing off back over its self. Save this
backing for use later.
|
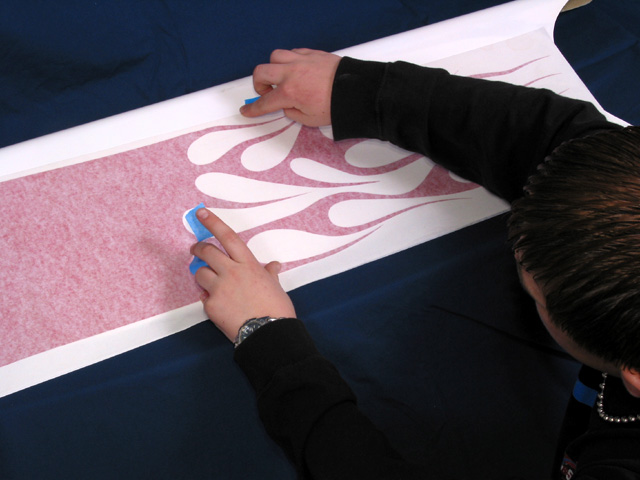
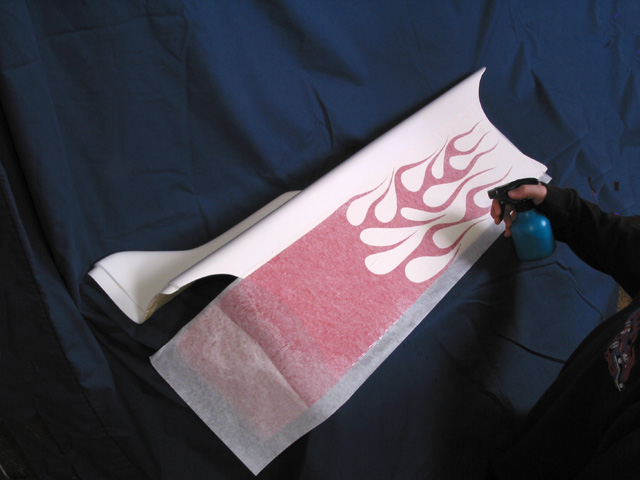
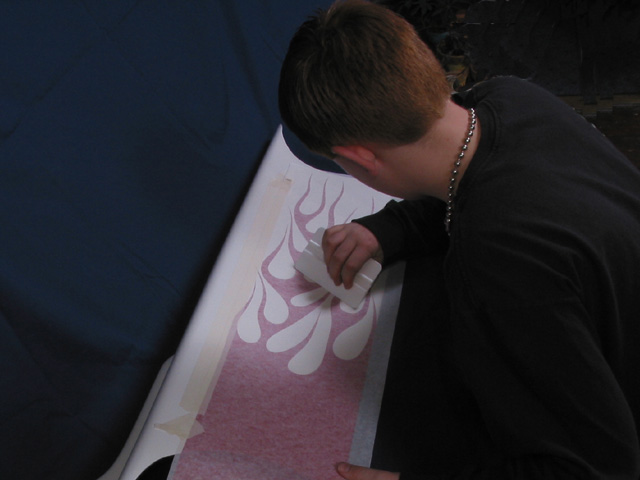
- Working the Graphic onto the surface:
- While still holding the graphic away from the kart start at
the top and drape the top of the graphic onto the kart. Use
your squeegee to work the graphic onto the Karts surface.
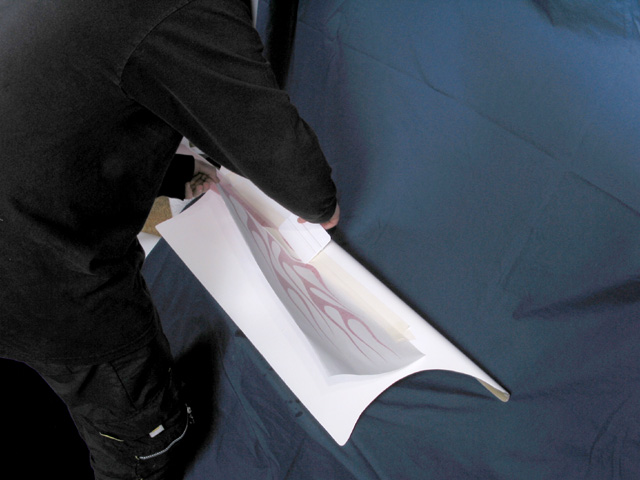
Working from center out and down. Use the squeegee to push out
air bubbles from the under the graphic. Do not let the entire
graphic down at once. Drape it on to the surface.
After you have the graphic completely laid down, work out any
remaining air bubbles to the edges of the graphic with the squeegee.
This process should remove most of the water/air from under your
graphic.
|
|
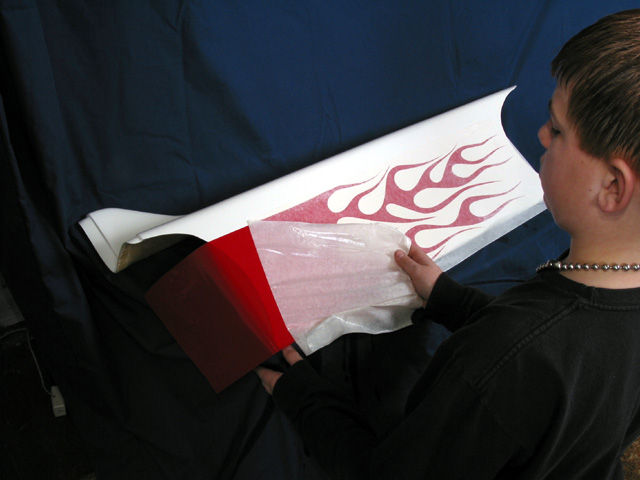
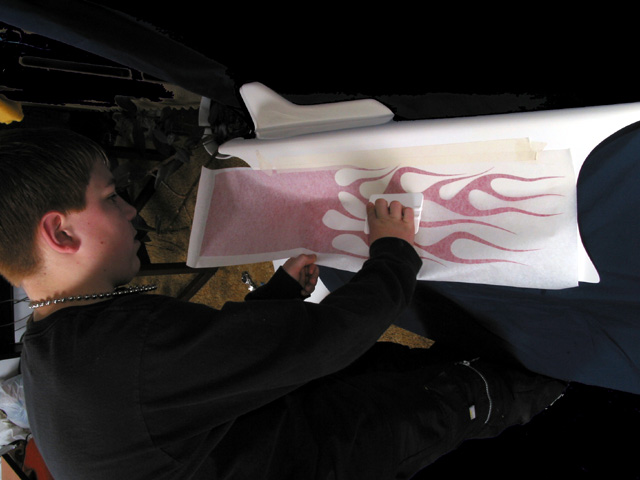
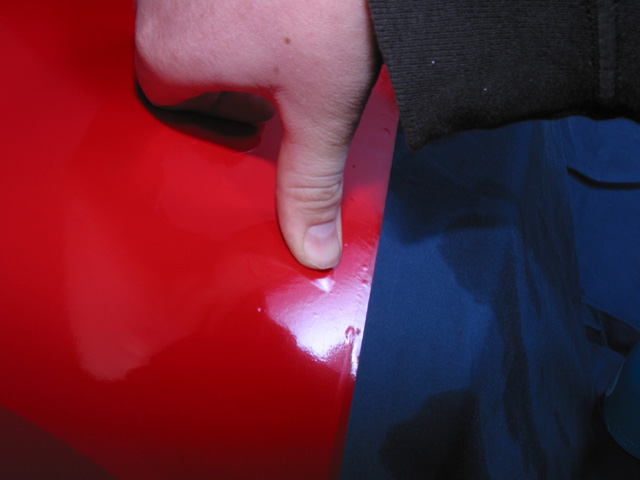
- You will have some bubbles especially on large graphics
- If you have any large bubbles they can be worked out to the
edges.
- Work the bubble to the edge with your finger
- Place the backing over the graphic shiny side up and use
the squeegee to work the bubbles out. Do not use the squeegee
directly on the graphic your could scratch it.
- If you have a large bubble you can prick it with stick
pin, and use your finger to work the water and air out through
the hole
- Most small bubbles will disappear in a day or so.
|
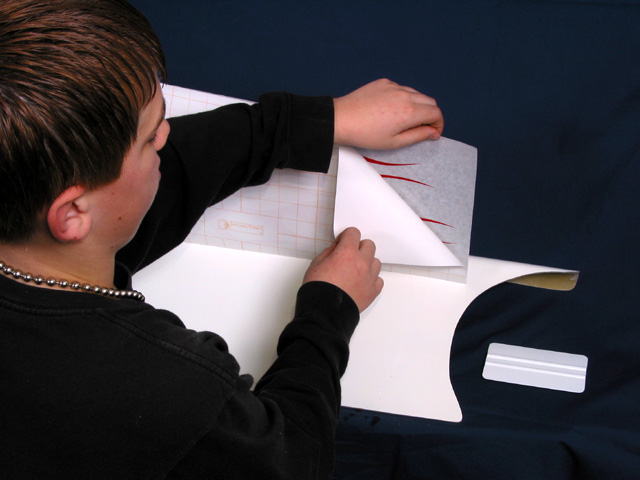
- Trim
- You can now trim your graphic if needed.
|
|
- Stand back and admire your work.
|